Table of contents
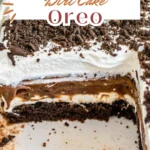
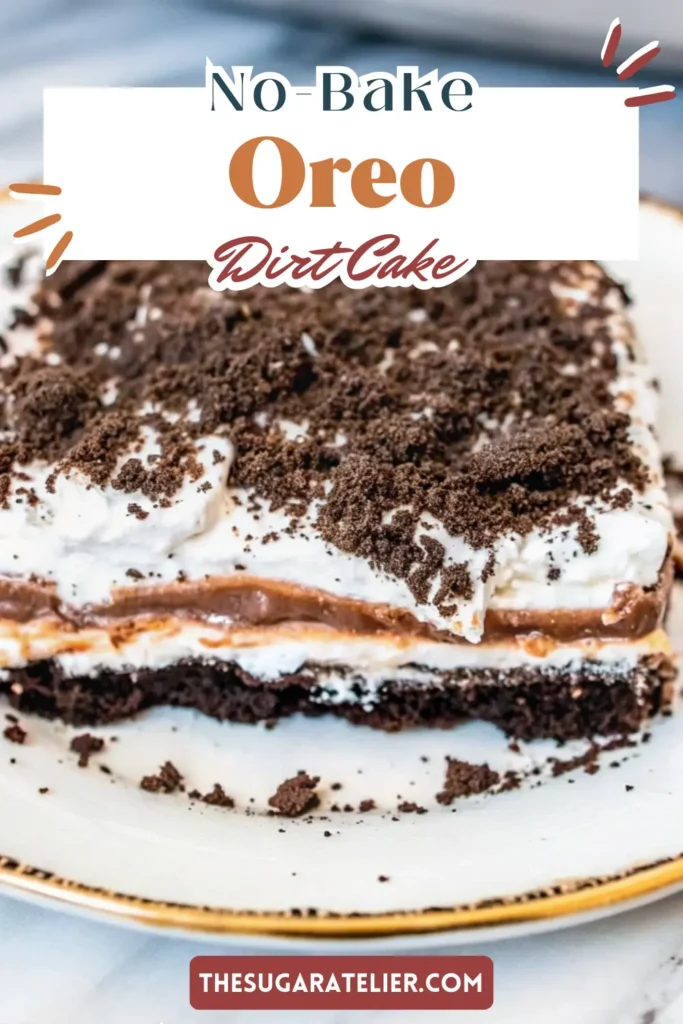
Few desserts spark as much joy and nostalgia as a dish that looks playful yet tastes utterly indulgent, and this Oreo dirt cake recipe nails it perfectly. I still remember stumbling upon it at a family reunion – the moment kids giggled while spooning into what seemed like a flowerpot brimming with chocolatey “dirt” is etched in my memory. The brilliance is in its charm: velvety layers of pudding and cream crowned with crushed Oreos that mimic garden soil to perfection. It’s fun, decadent, and carries a surprising elegance hidden beneath its quirky name. One bite, and you’ll see why this treat earns its place at every gathering, from birthdays to casual potlucks.
What makes this cake unforgettable is its ability to connect generations around a single dish. It’s a lighthearted reminder that desserts can be both whimsical and delicious. Let’s dig into this sweet little treasure together.
Table talk
with Emma!
I’ve whipped up this Oreo Dirt Cake Recipe for countless gatherings—birthdays, BBQs, or cozy nights in. It’s a hit every time, vanishing quickly! Super customizable, stores well in the fridge, and even my picky eater friends can’t resist seconds. A must-try crowd-pleaser!
Emma
Why You’ll Love This Oreo Dirt Cake Recipe
This no-bake dessert will steal your heart for so many reasons. First, it’s incredibly easy to make – you don’t need any fancy equipment or advanced baking skills. The layered pudding dessert comes together in about 20 minutes of active prep time, making it perfect for busy weeknights or last-minute entertaining.
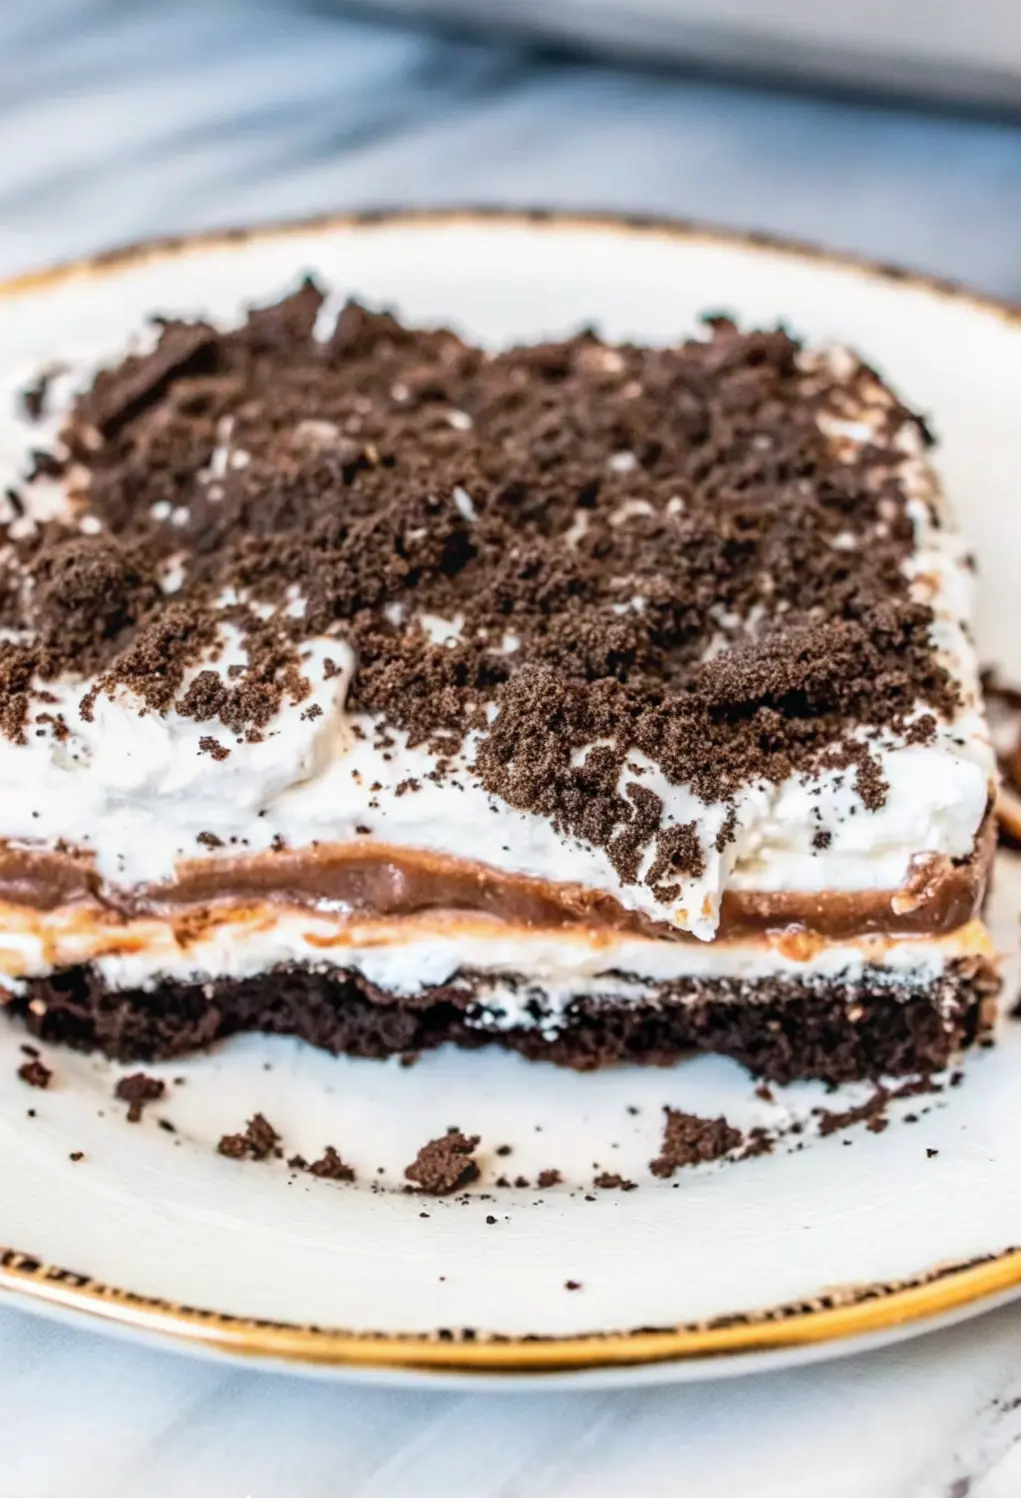
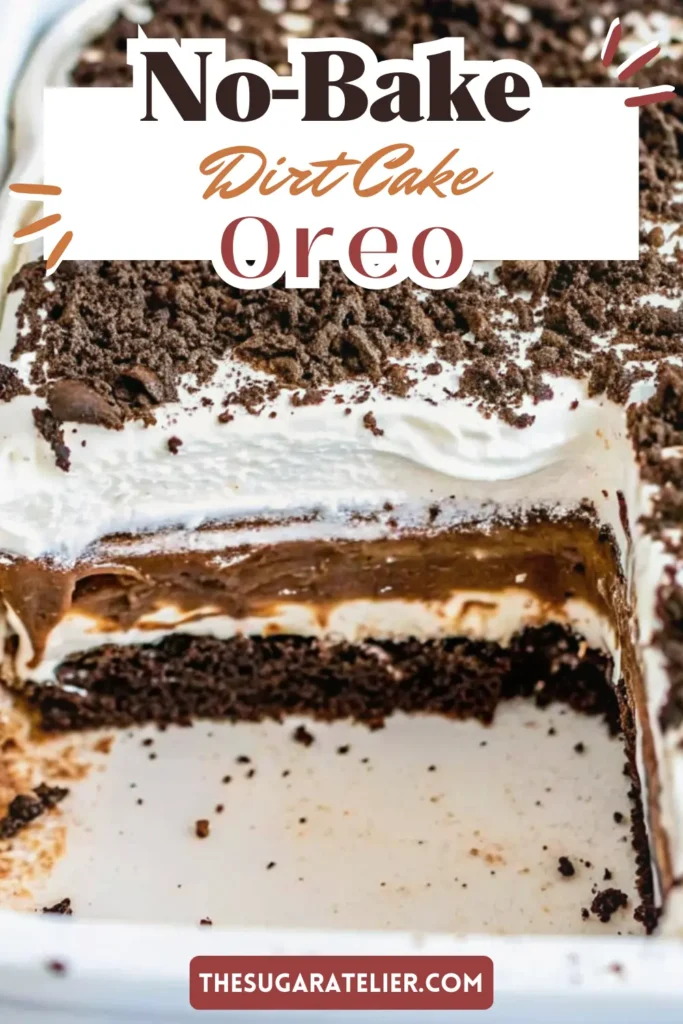
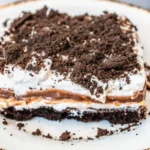
The texture combination is absolutely divine. You’ve got that satisfying crunch from the Oreo crust, followed by silky cream cheese layers, rich chocolate pudding, and fluffy whipped topping. Each bite delivers the perfect balance of sweet and creamy with just the right amount of chocolate intensity.
Most importantly, this chocolate dessert is a guaranteed crowd-pleaser. Kids love the playful presentation, while adults appreciate the sophisticated flavor profile. It’s sweet, simple, and oh-so-satisfying – exactly what every great dessert should be.
What You’ll Need
Let me walk you through the beautiful simplicity of these ingredients. Each one plays a crucial role in creating those perfect layers we’re after.
- Regular Oreo cookies – The star of our show! I always use the classic variety because they provide that perfect chocolate-vanilla balance. You’ll need a full package, and trust me, resist the urge to snack on them while you work.
- Butter – This binds our Oreo crumbs together to create that sturdy, delicious crust. Make sure it’s melted but not hot, so it doesn’t make the crumbs soggy.
- Cream cheese – The foundation of our creamy layer. Always use full-fat cream cheese and let it come to room temperature for the smoothest mixing.
- Confectioners’ sugar – This sweetens our cream cheese layer while keeping the texture perfectly smooth. No granulated sugar here – we want that silky finish.
- Frozen whipped topping – I keep these in my freezer because they’re perfect for recipes like this. Make sure they’re completely thawed before using.
- Instant chocolate pudding – The beauty of instant pudding is how quickly it sets up. Choose a good-quality brand for the richest chocolate flavor.
- Milk – Whole milk gives the pudding the creamiest texture, but 2% works beautifully too.
Let’s Bake It Together
Ready to create some magic? This easy Oreo dirt cake recipe comes together in beautiful layers, and I’ll guide you through each step.
- Crush those Oreos in your food processor until they become fine crumbs. The sound is so satisfying! Reserve half a cup of these precious crumbs in a small bowl – they’re your gorgeous garnish for later.
- Pulse the melted butter into the remaining crumbs until everything looks like wet sand. This creates the perfect binding for your crust.
- Press this mixture firmly into your baking dish. I like to use the bottom of a measuring cup to get it really even. Pop it in the fridge while you work on the next layer.
- Beat that cream cheese until it’s fluffy and light. This usually takes about 2-3 minutes with an electric mixer. Add the confectioners’ sugar and beat until completely smooth.
- Fold in one container of whipped topping gently. Don’t overmix – we want to keep all that lovely airiness. Spread this over your chilled Oreo crust.
- Whisk together the pudding mix and milk until smooth and beginning to thicken. This happens quickly, so don’t walk away!
- Spread the pudding over your cream cheese layer and refrigerate until firm. This usually takes about 2 hours, but overnight is even better.
- Top with the remaining whipped topping and sprinkle those reserved Oreo crumbs on top. This is where the magic happens – it truly looks like rich garden soil!
Serving Suggestions
This family-friendly dessert is incredibly versatile when it comes to presentation. For casual gatherings, serve it straight from the dish with a big spoon – there’s something wonderfully communal about everyone digging in together.
For more elegant occasions, try individual mason jar presentations. Layer the components in clear jars for a beautiful parfait-style dessert that guests can easily grab and enjoy. The layers look absolutely stunning through the glass.
During spring and summer, consider serving it in a clean flower pot with some gummy worms peeking out kids absolutely lose their minds over this presentation. Add some fresh mint “leaves” or edible flowers for a garden party theme.
For holidays, you can customize the Oreo crumbs with seasonal touches. Crush some peppermint Oreos for Christmas, or use golden Oreos for a different color palette.

Make It Your Own
The beauty of this Oreo dirt cake lies in how easily you can adapt it to your family’s preferences and dietary needs.
- Gluten-free version – Substitute gluten-free chocolate sandwich cookies for the Oreos. Many brands make excellent alternatives that work perfectly in this recipe.
- Lighter option – Use sugar-free pudding mix, light cream cheese, and sugar-free whipped topping. You’ll still get all that amazing flavor with fewer calories.
- Flavor variations – Try different pudding flavors like vanilla, butterscotch, or even pistachio for unique twists. Each creates a completely different dessert experience.
- Add-ins – Fold in some mini chocolate chips, crushed toffee bits, or even fresh berries between the layers for extra texture and flavor surprises.
Kitchen Tips & Tricks
Let me share some wisdom I’ve gained from making this make-ahead dessert countless times. The most common mistake I see is not letting the cream cheese come to room temperature. Cold cream cheese creates lumps that are nearly impossible to smooth out, so plan ahead.
When crushing the Oreos, don’t over-process them into powder. You want small chunks that still have some texture. I learned this the hard way when I once turned them into chocolate dust – it just wasn’t the same.
Here’s a pro tip: when spreading each layer, use an offset spatula and work gently. Rushing this step can cause the layers to mix together, and we want those beautiful distinct stripes.
If your pudding seems too thick, add milk one tablespoon at a time until it reaches the perfect consistency. Every brand behaves slightly differently, so trust your instincts.
Storage & Make-Ahead Tips
This Oreo dirt cake is actually better when made ahead – the flavors meld beautifully overnight. Store it covered in the refrigerator for up to 4 days, though it rarely lasts that long in my house!
For the best texture, add the final whipped topping layer and Oreo crumb garnish just before serving. This keeps everything looking fresh and prevents the crumbs from getting soggy.
While I don’t recommend freezing the completed dessert, you can definitely prep components ahead. Make the crust and cream cheese layer up to 2 days in advance, then add the remaining layers when you’re ready.
If you’re transporting this dessert, keep it chilled and add the garnish once you arrive. A cooler with ice packs works perfectly for short trips.
Frequently Asked Questions
Absolutely! Homemade whipped cream adds a lovely fresh flavor. Just make sure it’s stabilized with a bit of powdered sugar so it holds its shape in the layers.
This usually happens when the cream cheese is too cold. Let it sit at room temperature for at least 30 minutes before mixing, and beat it thoroughly before adding other ingredients.
Yes! Use clear glasses or mason jars for beautiful individual layered desserts. Just divide each component evenly between your containers.
You can make it up to 2 days ahead. The flavors actually improve overnight, making it perfect for party planning.
Place the cookies in a sealed plastic bag and crush them with a rolling pin. It takes a bit more effort, but works perfectly fine.
Final Thoughts
This Oreo dirt cake recipe holds such a special place in my heart because it reminds us that the best desserts don’t always need to be complicated. Sometimes the most memorable treats are the ones that make us smile before we even take a bite.
What I love most about this recipe is how it brings out everyone’s inner child. There’s something wonderfully liberating about a dessert that encourages you to dig in with abandon. It’s proof that baking with love, not just precision, creates the sweetest memories.
I encourage you to make this recipe your own – add your favorite mix-ins, try different presentations, or create your own family traditions around it. The beauty lies in its flexibility and the joy it brings to everyone who tries it.
Thanks for baking with me today! I’d love to hear how your chocolate dirt cake turns out, so don’t hesitate to share your experiences and creative variations.
If you give Oreo Dirt Cake Recipe , I’d love to know how your dessert turned out!
Please take a moment to leave a rating and a quick review—your feedback helps us keep baking up more delightful, foolproof recipes for you to enjoy.
Oreo Dirt Cake Recipe
- Prep Time: 20 minutes
- Cook Time: 4 hours
- Total Time: 4 hours 20 minutes
- Yield: 12
- Category: Dessert
- Method: No-Bake
- Cuisine: American
Description
Oreo Delight is a decadent, no-bake layered dessert featuring a crisp Oreo crust, velvety cream cheese layer, silky chocolate pudding, and light whipped topping. Ideal for potlucks or a delightful treat anytime!
Ingredients
- 1 (14.3-ounce) package regular Oreo cookies
- 6 tablespoons butter, melted
- 1 (8-ounce) package cream cheese
- 1 1/4 cups confectioners’ sugar
- 2 (8-ounce) tubs frozen whipped topping, thawed
- 2 (3.9-ounce) boxes instant chocolate pudding
- 3 cups milk
Instructions
-
In the bowl of a food processor, place the entire bag of Oreos and blend until finely crushed.
-
Set aside 1/2 cup of the Oreo crumbs in a small bowl for garnish. Add the melted butter to the food processor and pulse briefly until mixed.
-
Press the crumb mixture evenly into the bottom of the prepared baking dish. Refrigerate while preparing the next layer.
-
In a medium mixing bowl, beat the cream cheese with an electric mixer until light and fluffy. Add confectioners’ sugar and mix until fully incorporated.
-
Gently fold in one container of whipped topping. Spread this mixture over the chilled Oreo crust.
-
In a large mixing bowl, whisk the pudding mix and milk together until smooth and slightly thickened.
-
Spread the pudding over the cream cheese layer. Refrigerate until set.
-
Once the chocolate layer is firm, spread the remaining whipped topping over it. Sprinkle the reserved Oreo crumbs on top. Serve.
Notes
Refrigerate each layer to maintain clear, separate layers in the finished dessert. For a solid crust, chill it for at least 30 minutes before spreading the cream cheese layer. Keep leftovers refrigerated for up to 3 days.
Nutrition
- Serving Size: 12
- Calories: 513 kcal
- Sugar: 51 g
- Sodium: 549 mg
- Fat: 26 g
- Carbohydrates: 65 g
- Fiber: 2 g
- Protein: 7 g