Table of contents
There’s a certain kind of magic that happens when fall settles in the air turns crisp, leaves crunch underfoot, and your kitchen fills with the irresistible scent of a classic pumpkin pie recipe baking to perfection. I remember the first time I made one completely from scratch. I half-expected disaster, but that golden, velvety filling and perfectly flaky crust came out so beautifully it felt like a little autumn miracle. That’s what I love about this pie: it looks impressive enough for the Thanksgiving table, yet it’s wonderfully simple for any home baker.
More than anything, pumpkin pie is about connection. It’s the dessert that gathers everyone around the table, forks ready and hearts full. The creamy, spiced filling and buttery crust blend into something that tastes like pure warmth and comfort.
So go ahead roll up your sleeves and bake with confidence. This recipe has soul, and you’ve got everything it takes to make it shine.
Table talk
with Emma!
Every time I bake Classic Pumpkin Pie Recipe, it feels like a little celebration of fall. It’s the kind of dessert that never lasts long everyone always asks for seconds! Cozy, simple to make, and perfect to prep ahead, this pie has truly earned its spot as a family favorite.
Emma
Why You’ll Love This Classic Pumpkin Pie Recipe
This homemade pumpkin pie has stolen my heart for so many reasons, and I know it’ll capture yours too. First, it’s incredibly approachable you don’t need fancy equipment or years of pastry experience to create something absolutely stunning. The ingredients are simple and likely already waiting in your pantry.
Second, the texture is everything you dream of in a perfect pumpkin pie: silky smooth, rich, and just set enough to slice beautifully. That gentle jiggle in the center when it comes out of the oven? That’s your sign of pumpkin pie perfection.
Most importantly, this recipe is wonderfully adaptable. Whether you want to make it your own with different spices or need to accommodate dietary preferences, this foundation gives you endless possibilities. It’s sweet, simple, and oh-so-satisfying.

What You’ll Need
Every ingredient in this classic pumpkin pie recipe plays a starring role in creating that signature pumpkin pie magic. Here’s what we’ll be working with:
- Pie crust – The foundation that holds all our delicious filling. Whether you make it from scratch or use store-bought, make sure it’s a 9-inch size. I always keep a few in my freezer for spontaneous baking moments!
- Fresh eggs – These beauties bind everything together and give our pie that perfect custard-like texture. Room temperature eggs mix more easily, so pull them out about 30 minutes before baking.
- Evaporated milk – This creates the creamiest, richest filling without being too heavy. It’s different from condensed milk, so double-check that label!
- Brown sugar – I prefer this over white sugar because it adds a lovely molasses depth that complements the pumpkin beautifully. Pack it firmly when measuring.
- Pumpkin puree – The star of our show! Whether you use homemade or canned, make sure it’s pure pumpkin, not pumpkin pie filling.
- Pumpkin pie spice – This magical blend of cinnamon, nutmeg, ginger, and allspice brings all those cozy fall flavors together perfectly.
- Homemade whipped cream – Because every slice deserves a dollop of something dreamy on top!
Let’s Bake It Together
Ready to create some classic pumpkin pie magic? Here’s how we’ll bring this beauty to life, step by delicious step:
- Prepare your crust – Remove that pie dough from the refrigerator and let it soften at room temperature for about 15-20 minutes. On a floured surface, roll it from the center outward, turning clockwise every few rolls until it’s 1-2 inches larger than your pie pan. Don’t forget to flour your rolling pin and work surface to prevent sticking!
- Shape and chill – Gently roll the dough around your rolling pin, then unroll it into your pie plate. Trim and crimp those edges to make them pretty, then pop it in the refrigerator for 30 minutes. This chilling step prevents shrinkage during baking.
- Mix the filling – Preheat your oven to 425°F. In a medium bowl, whisk together the eggs, evaporated milk, brown sugar, pumpkin puree, and pumpkin pie spice until completely smooth. You’ll know it’s ready when the mixture is silky and well-combined.
- Bake to perfection – Pour the filling into your prepared crust and smooth the top. Bake for 15 minutes at 425°F, then reduce the temperature to 350°F and continue baking for 45-50 minutes. The center should be puffed but still slightly jiggly. Cover the crust edges with foil after 15-20 minutes to prevent over-browning.
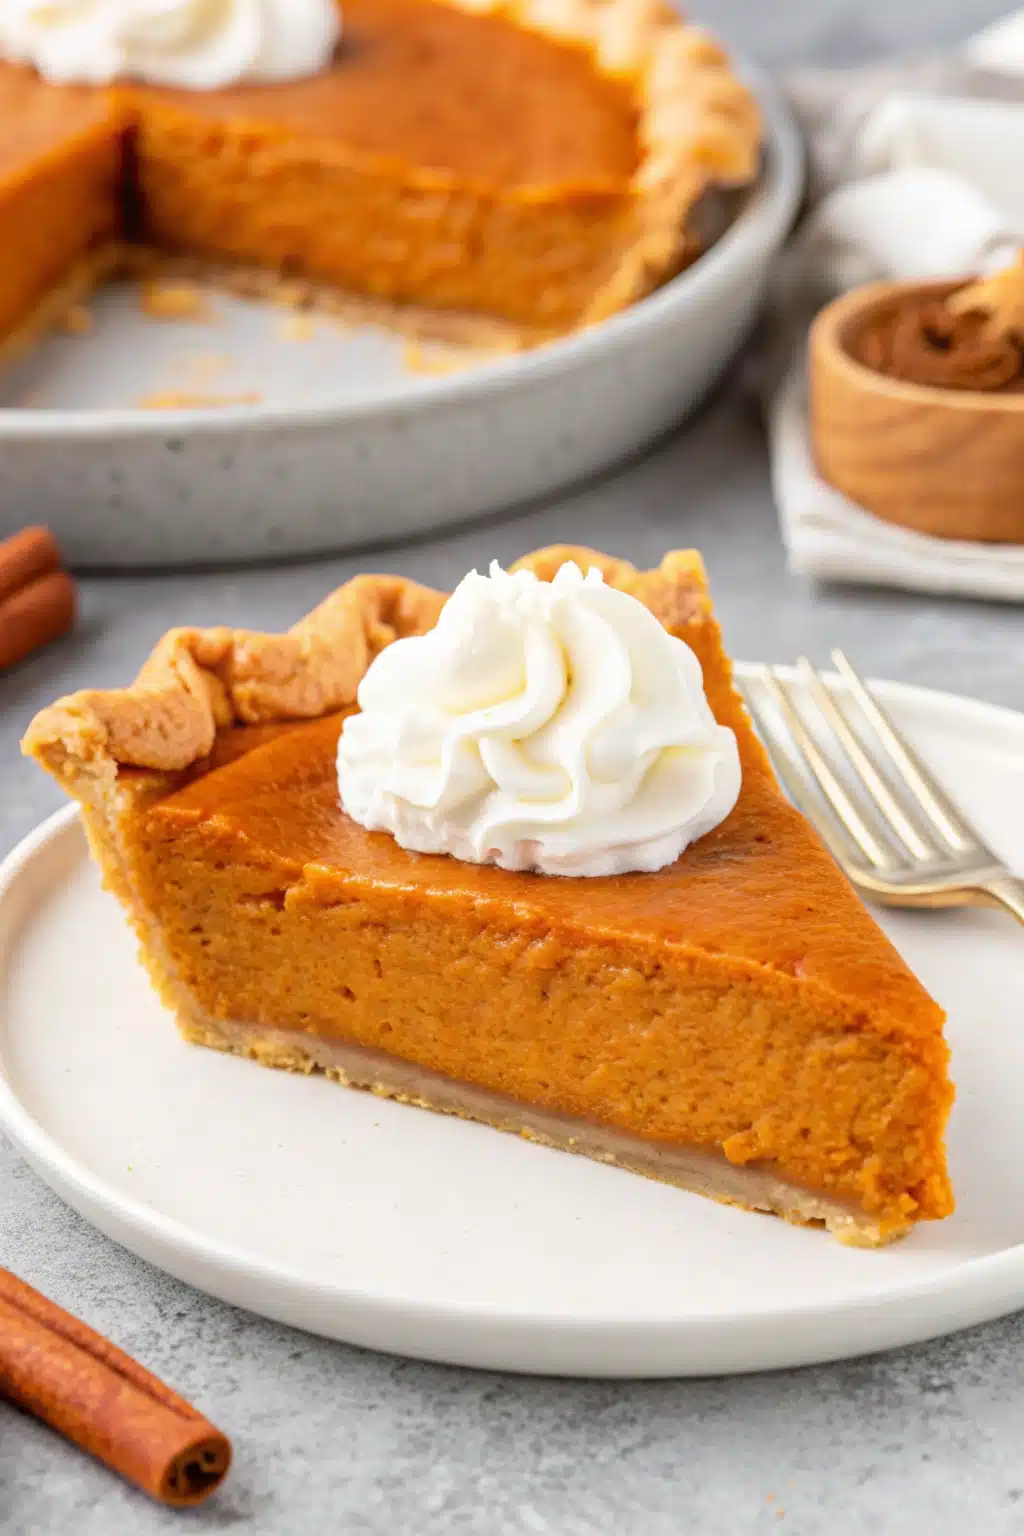
- Cool and chill – Remove from the oven and cool completely on a wire rack for 2 hours. Once cooled, refrigerate until ready to serve. Top with that gorgeous homemade whipped cream and enjoy every bite!
Serving Suggestions
This easy classic pumpkin pie is absolutely stunning on its own, but here are some of my favorite ways to dress it up:
Classic style with a generous dollop of whipped cream and a light dusting of cinnamon never goes out of fashion. For something special, try drizzling warm caramel sauce over each slice it’s like autumn in dessert form.
During the holidays, I love garnishing with candied pecans or a sprinkle of toasted pumpkin seeds for extra texture. For a modern twist, serve alongside vanilla ice cream or even a scoop of cinnamon gelato.
Make It Your Own
One of the best things about this classic pumpkin pie recipe is how easily you can adapt it to your taste or dietary needs:
- Spice variations – Love extra warmth? Add a pinch of cardamom or increase the ginger. Prefer milder spices? Reduce the pumpkin pie spice by half.
- Dairy-free option – Substitute the evaporated milk with full-fat coconut milk for an equally creamy result with a subtle tropical note.
- Sweetness adjustments – You can reduce the brown sugar to ½ cup if you prefer less sweetness, or swap it for maple syrup for a different flavor profile.
- Gluten-free crust – Use your favorite gluten-free pie crust recipe or a store-bought option to make this accessible for everyone.

Kitchen Tips & Tricks
After years of making classic pumpkin pie, I’ve learned a few tricks that make all the difference. The biggest mistake I see is overbaking – that slightly jiggly center is exactly what you want! It’ll continue setting as it cools.
Always blind bake your crust if it seems too thick, but with this recipe, the filling usually protects it perfectly. If your pie cracks while cooling, don’t panic! A little whipped cream covers any imperfections beautifully.
Temperature matters more than you might think. Room temperature ingredients mix more easily and create a smoother filling, so plan accordingly.
Storage & Make-Ahead Tips
This classic pumpkin pie actually improves with time! Store it covered in the refrigerator for up to 4 days. The flavors meld beautifully overnight, making day-two slices even more delicious.
For make-ahead convenience, you can prepare the entire pie up to 2 days before serving. Just add the whipped cream right before serving to keep it fresh and fluffy.
Freezing works too wrap the cooled pie tightly and freeze for up to 2 months. Thaw overnight in the refrigerator before serving.
Frequently Asked Questions
Absolutely! Roast pumpkin halves cut-side down at 400°F until tender, then puree until smooth. Just make sure to drain any excess moisture.
This usually happens from overbaking or temperature shock. Bake until just set and cool gradually at room temperature before refrigerating.
You can substitute with heavy cream mixed with a little milk, but evaporated milk gives the best texture and traditional flavor.
The center should be puffed but still have a slight jiggle when you gently shake the pan. A knife inserted near the center should come out mostly clean.
More Cozy Pumpkin Treats You’ll Love This Fall
- Perfect Pumpkin Streusel Bread Recipe
- Easy Moist Pumpkin Bread Recipe
- Pumpkin Cream Cheese Swirl Brownies
- Pumpkin Cream Cheese Brownies
Final Thoughts
This classic pumpkin pie recipe represents everything I love about baking it’s approachable, forgiving, and absolutely delicious. Whether this is your first attempt at homemade pumpkin pie or you’re looking to perfect your technique, remember that baking is about love, not just precision.
Don’t be afraid to make this recipe your own. Every family has their pumpkin pie preferences, and this foundation gives you the freedom to create something uniquely yours. Most importantly, enjoy the process and the smiles this pie will bring to your table.
Thanks for baking with me today! I’d love to hear how your pumpkin pie adventure turns out.
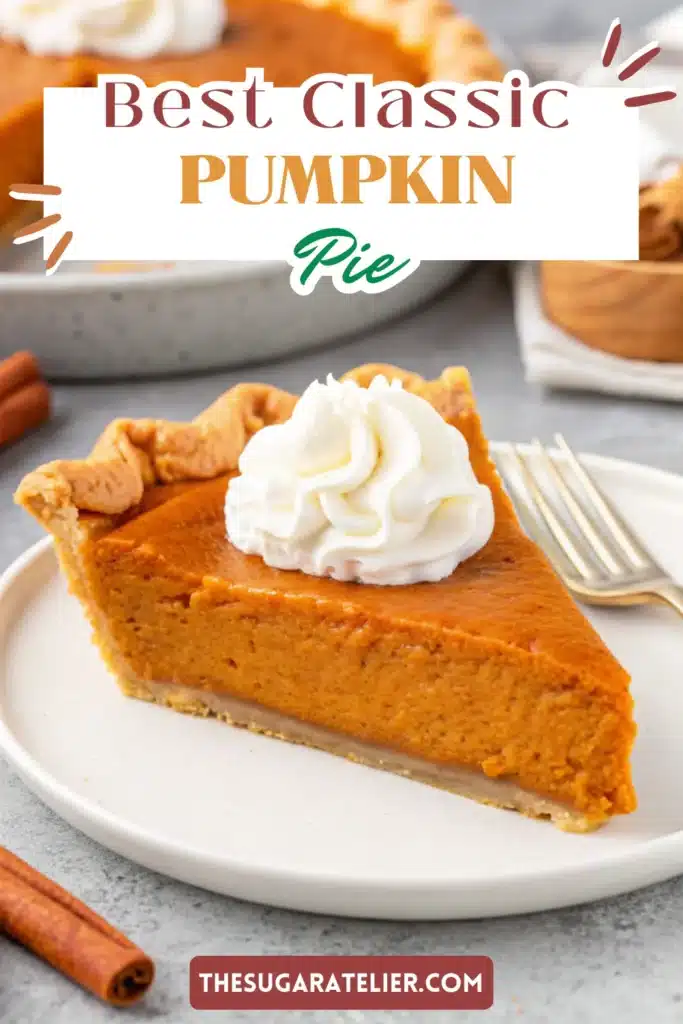
Remember it later!
Planning to try this recipe soon? Pin it for a quick find later!
If you give Classic Pumpkin Pie Recipe , I’d love to know how your dessert turned out!
Please take a moment to leave a rating and a quick review—your feedback helps us keep baking up more delightful, foolproof recipes for you to enjoy.

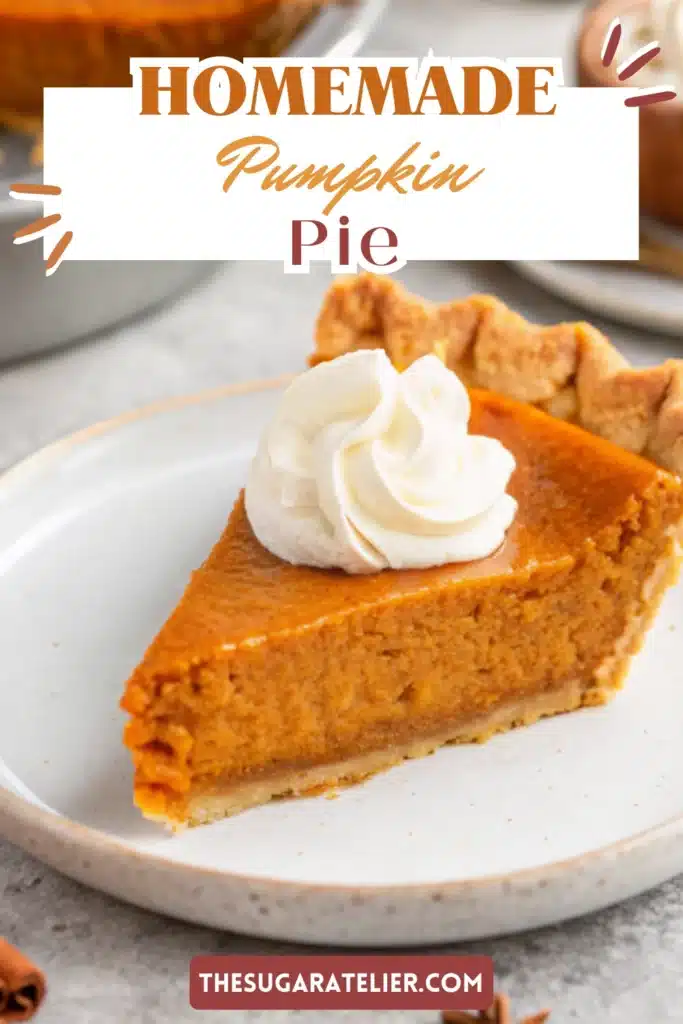
Classic Pumpkin Pie Recipe
- Prep Time: 20 minutes
- Cook Time: 1 hour
- Total Time: 3 hours 50 minutes
- Yield: 8 servings
- Category: Dessert
- Method: Baked
- Cuisine: American
- Diet: Vegetarian
Description
A classic homemade pumpkin pie made completely from scratch with a smooth, spiced filling and flaky crust — perfect for fall celebrations.
Ingredients
- 1 9″ pie crust
- 2 large eggs
- 12 ounces evaporated milk
- 3/4 cup packed brown sugar
- 1.5 cups pumpkin puree (homemade or store bought; 15 ounces canned pumpkin)
- 2 teaspoons pumpkin pie spice (substitute with store bought)
- homemade whipped cream
Instructions
- Remove the pie dough from the refrigerator and let stand at room temperature until soft enough to roll, about 15-20 minutes. Place on a floured work surface, then sprinkle the top lightly with flour. Using a floured rolling pin, roll the pie crust from the center outward, clockwise at 10 minute intervals, until it’s 1″ – 2″ larger than the circumference of the pie pan. Be sure to flour the rolling pin and underneath the pie crust every few rolls to prevent sticking.
- Gently roll the pie crust loosely around the rolling pin. Unroll the pie dough into the pie plate and trim and crimp the edges. Chill it in the refrigerator for 30 minutes.
- Preheat the oven to 425 degrees. Place the eggs, evaporated milk, brown sugar, pumpkin puree and pumpkin pie spice in a medium bowl and whisk well until well combined.
- Pour into the prepared pie crust and smooth evenly. Bake for 15 minutes at 425 degrees, then reduce heat to 350 degrees and bake for 45-50 minutes or until the center is puffed but slightly jiggly. Be sure to cover the pie crust with a pie shield or foil after about 15-20 minutes once it has browned to prevent burning.
- Remove from heat and cool completely on a wire rack for 2 hours. Once the pie has cooled, place in the refrigerator to chill. Serve with whipped cream and enjoy!
Notes
For best flavor, make the pie a day ahead and chill overnight. Serve with a dollop of fresh whipped cream.
Nutrition
- Serving Size: 1 slice
- Calories: 171 kcal
- Sugar: 26 g
- Sodium: 71 mg
- Fat: 5 g
- Carbohydrates: 29 g
- Fiber: 1 g
- Protein: 5 g